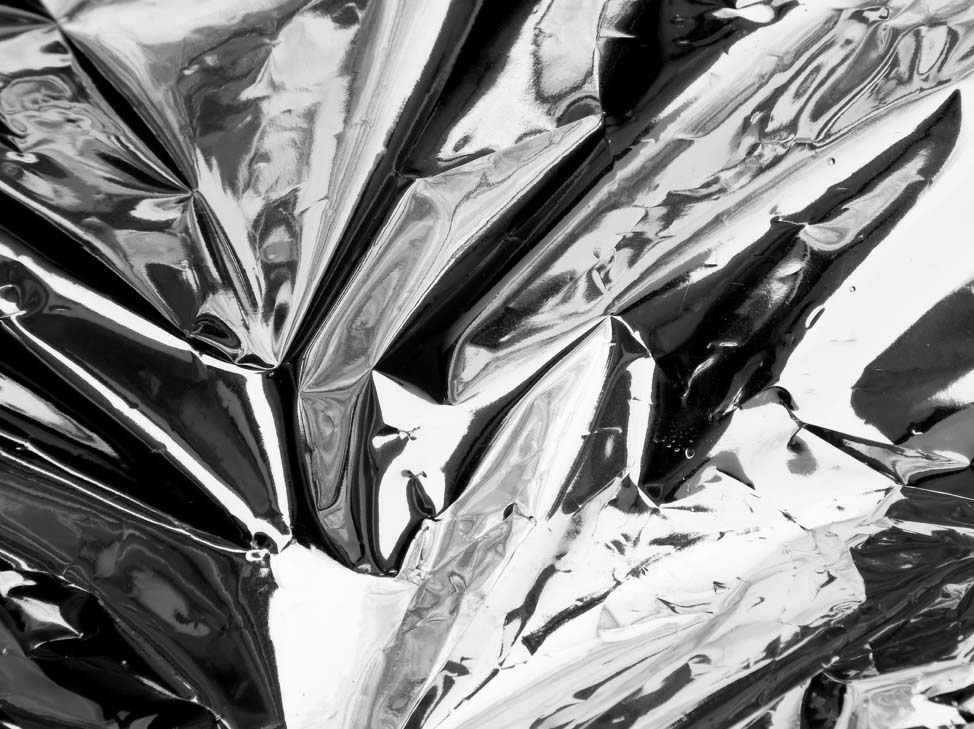
As product developers, we’ve all been there; you spend time dreaming up the perfect design, get the marketing and sales teams onboard and source your project. Sample print runs can be cost prohibitive, so you jump straight from a digital proof to production, and after you’ve embarked on your first production run, you finally get to see your final vision come to life – only, you open the first box to find that beautiful chrome-like silver you’ve been dreaming up is a dull, slightly pearlized gray.
In this article we present a guide to the most commonly used metallic effects on primary packaging, so you can avoid potential pitfalls and get the gleaming stand-out-on-the-shelf look you’re after –
Here’s a breakdown of standard metallic effects, how they are achieved, and the type of finish they produce. It’s important to note that even standard metallic effects can vary vendor to vendor, production run to production run based on the type of ink, foil or other pigment used, the machine used to produce it, the substrate it’s adhered to, and any sealants used over the final design. As such it’s important to get a sample of the standard from your vendor before production. The standard doesn’t have to be the final design, just as long as it’s a representation of the agreed upon finish.
What are some options if I want my whole container to be metallic?
Vacuum Metalization
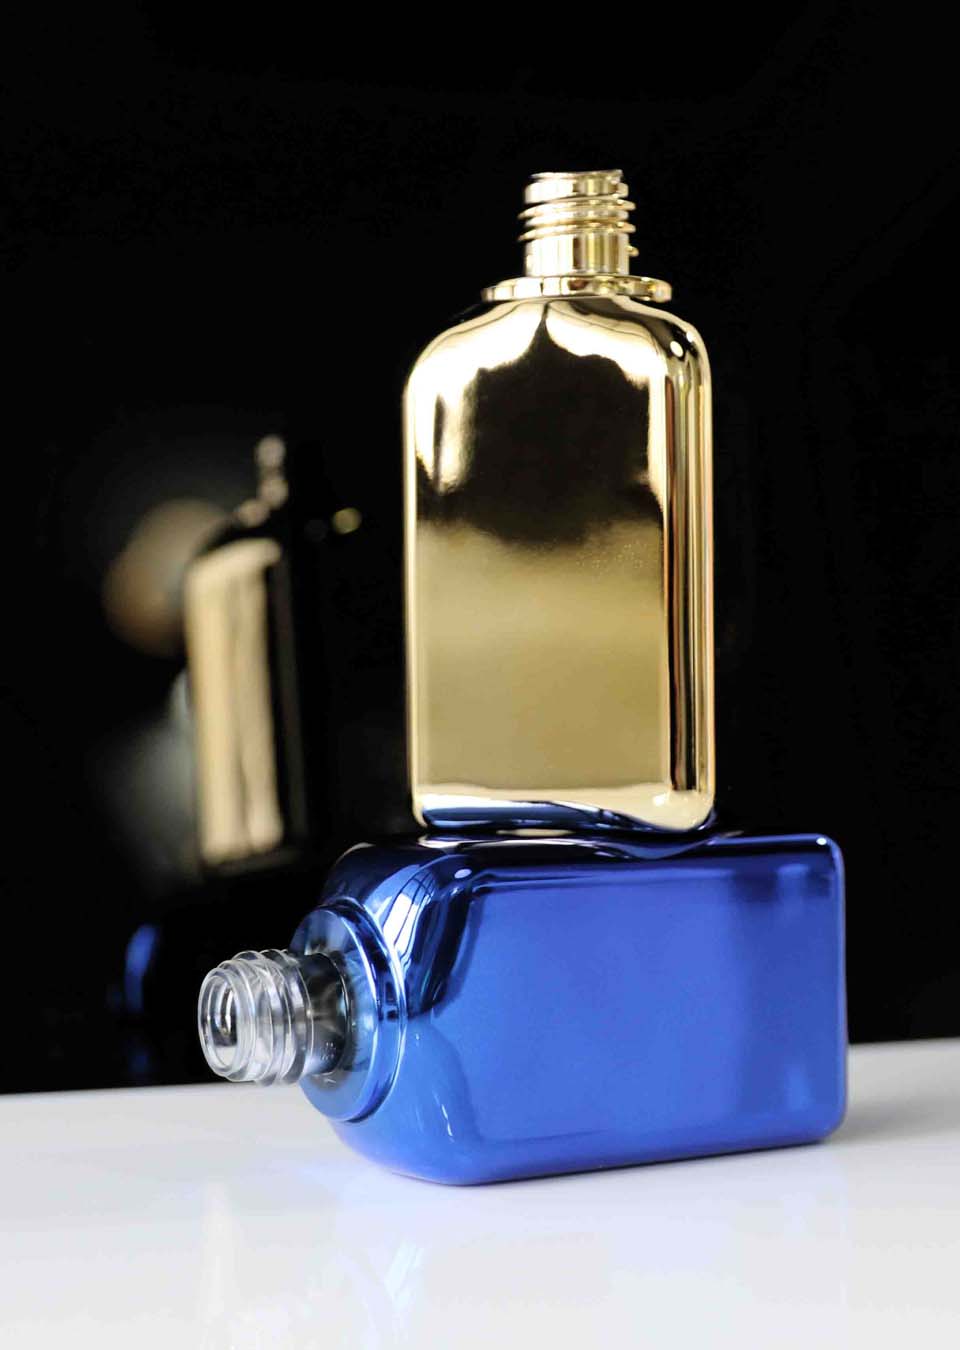
A metal is heated in a vacuum chamber until it begins to evaporate, the vaporized metal then condenses on and bonds to the container, producing the look of solid metal on plastic or glass parts. Vacuum metallization is available in a variety of colors, finishes, and textures. It is the best option for achieving an overall shiny, chrome-like look.
Spray Metallization
An alternative to vacuum metallization, components are sprayed with mirror-like metallic paint. This method is often used on caps and closures but can be applied to any component and most substrates, including both glass and plastic. Spray metallization is more versatile in general and can be a great option for smaller runs. There are more color options available in spray metallic finishes. It is easier to add tooling to mask out parts of a component, which can beneficial for caps and closures where a metallic finish is desirable on a piece of the component, but not the whole.
Pearl Pigments
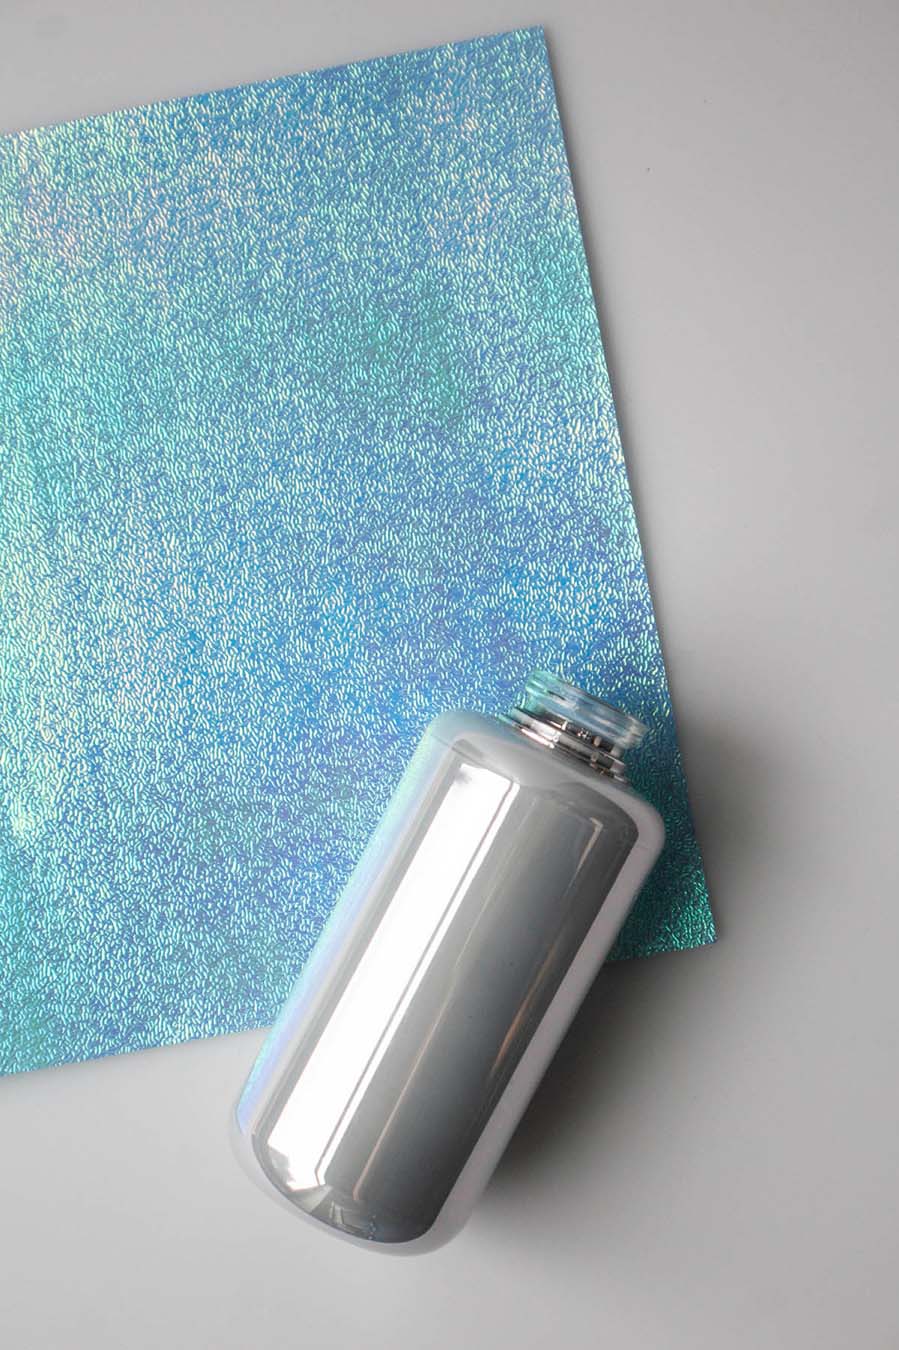
Different sizes of reflective pigment (usually mica platelets coated with titanium dioxide) can be added to plastic resins during the moulding process to create a soft luminescence or a full-on glitter effect.
Full Coverage Hot Stamping
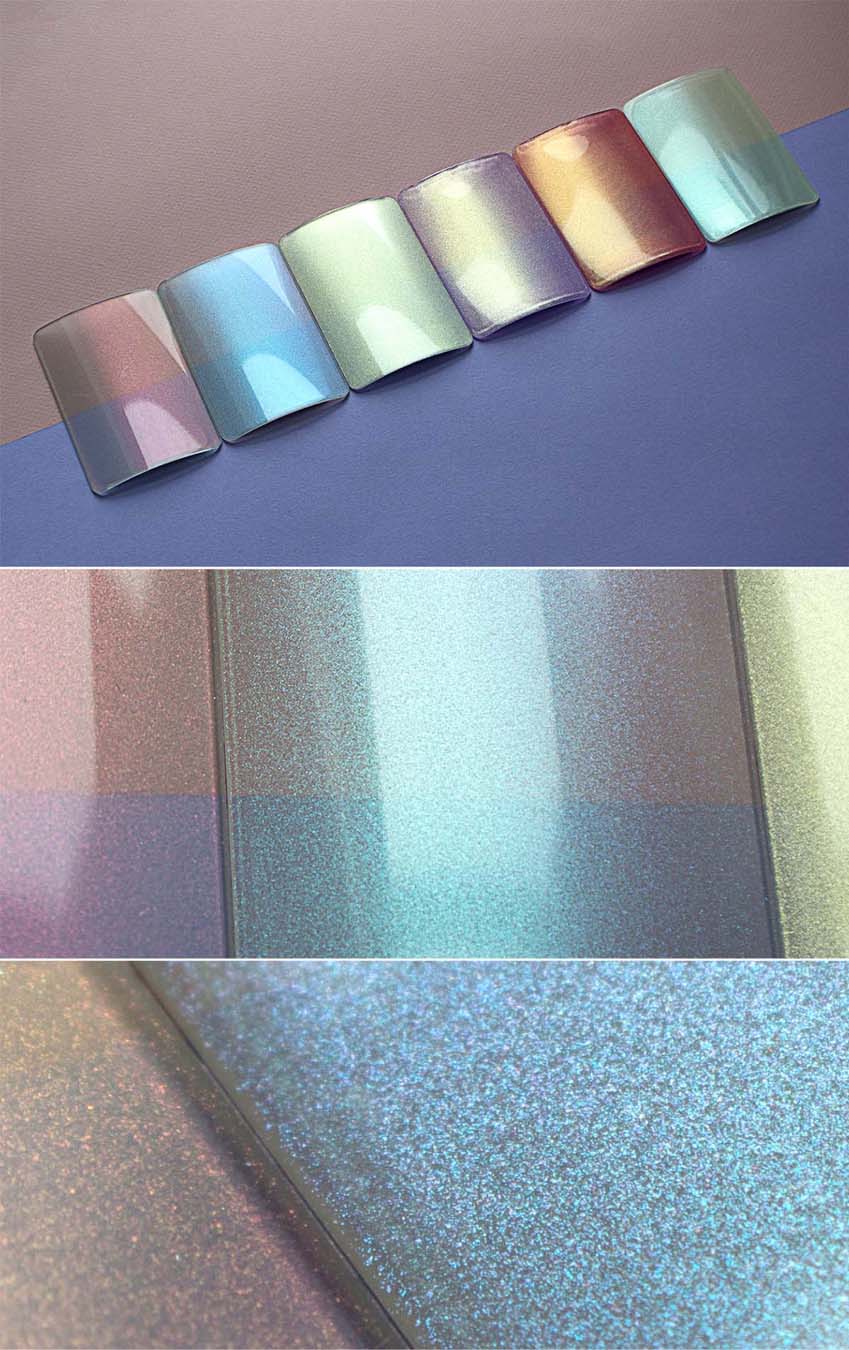
A pre-manufactured foil sheet is placed between the component and a metal die. The metal die is heated before pressing the foil sheet to the component. The foil adheres to the component and the die is released. The final effect is most commonly shiny silver or gold, but the choices are only limited to the foil options available in the market.
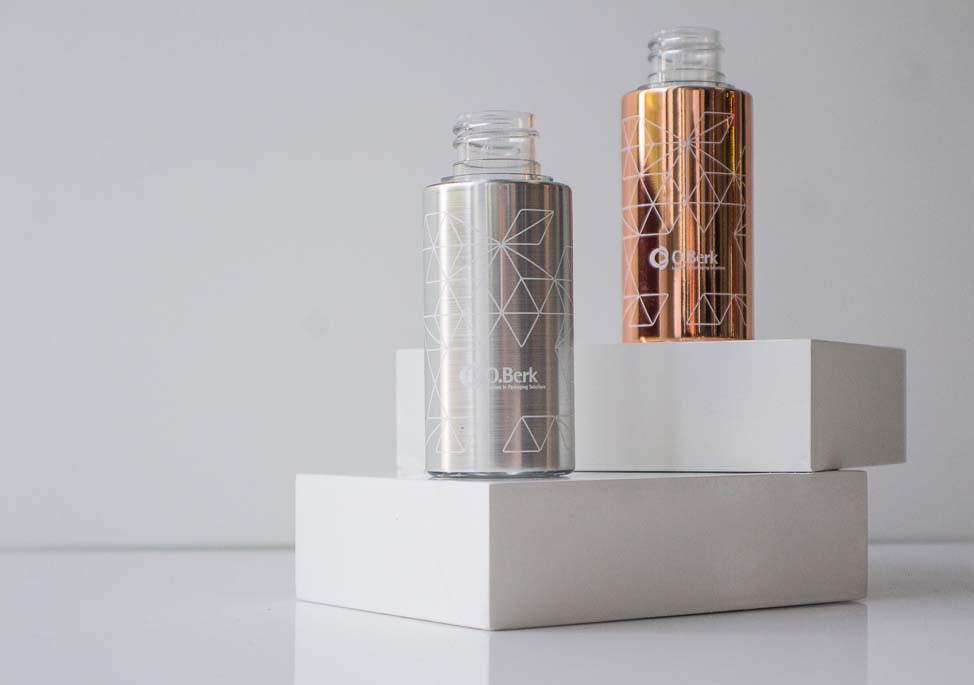
What are some options if I want my logo or a part of my decoration to be metallic?
Metallic Inks
Metallic ink has come a long way with many bright, luminescent options available to use in silk-screening applications. Metallic ink has a subtle glow but won’t currently achieve the full mirror-like quality of hot stamping. So, if you’re looking for a real eye-catching pop - go that route. Pantone metallic inks are a great standard to go by if you’re looking for this effect. Be aware that when you spec Pantone metallic colors, such as PMS Silver 877c, the printer will interpret this as metallic ink and you will end up with an effect like the below photo. It is a common and avoidable mistake to spec Pantone metallic inks when the desired effect is the mirror-like quality of foil. Make sure to distinguish the two in your artwork.
Metallic inks can be a great option for fine, detailed designs as they have the same capabilities as most silk-screening inks.
Glitter Inks
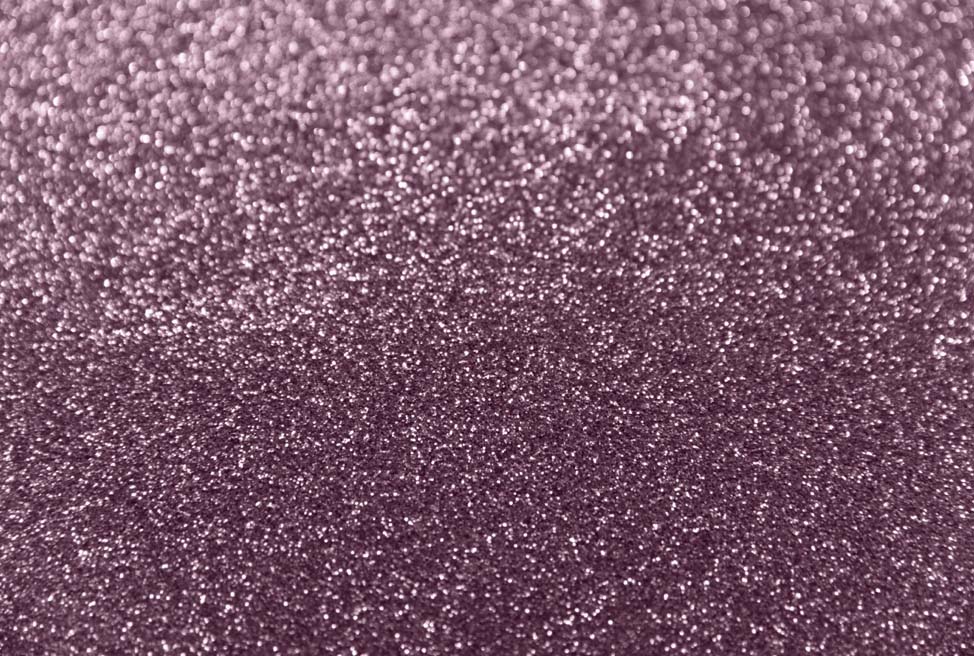
Exactly what it sounds like - pearlized pigments in varying sizes are added to a base silk-screening ink to produce a sparkle effect. This effect is best used on large, fuller coverage designs without much fine detail as the glitter pigments create a texture that’s harder to push through the fine screens needed to produce detailed prints.
Hot Stamping
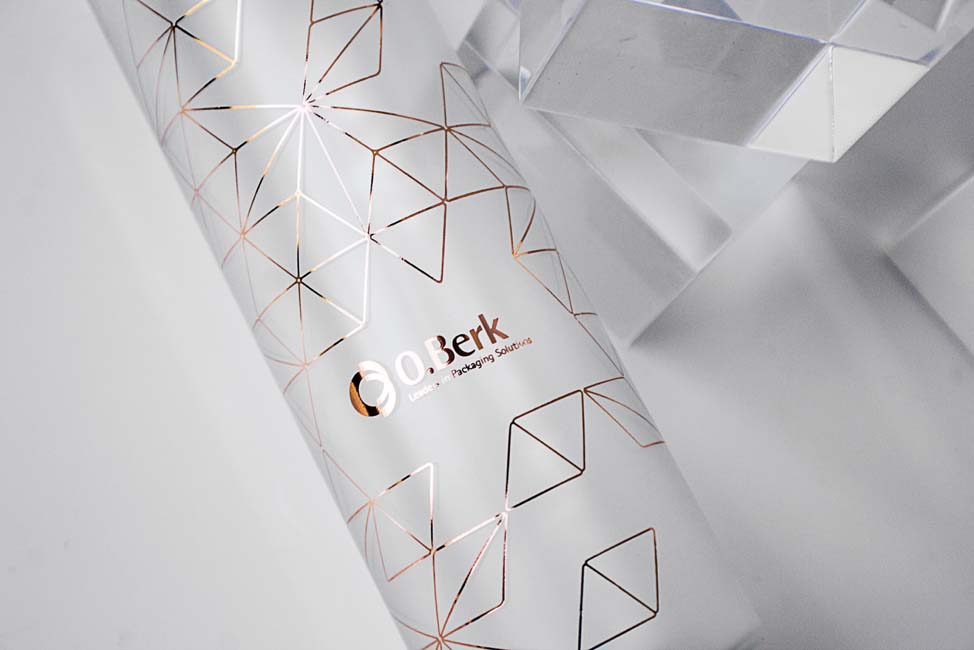
Hot Stamping is the best method to achieve a detailed ultra-shiny bright metallic design. As in full coverage hot stamping, a die with a raised design etched into it is heated and used to press a foil sheet onto the component. The foil adheres to the component where the die is raised, and the rest of the foil remains on the film it came on.
Be sure to check out the decorating section of Packaging Crash Course for more info!


